Sorting out taxes rarely tops anyone’s list of favourite tasks, yet for self-employed professionals and sole traders across the United Kingdom, accurate and timely tax submissions can make all the difference between a smooth year and a stressful one. HMRC expects you to keep thorough records and, as of April 2026, many will need to use recognised digital software if their turnover exceeds £50,000. This step-by-step guide breaks the tax process into manageable actions so you stay organised, compliant, and confident when filing your next return.
Table of Contents
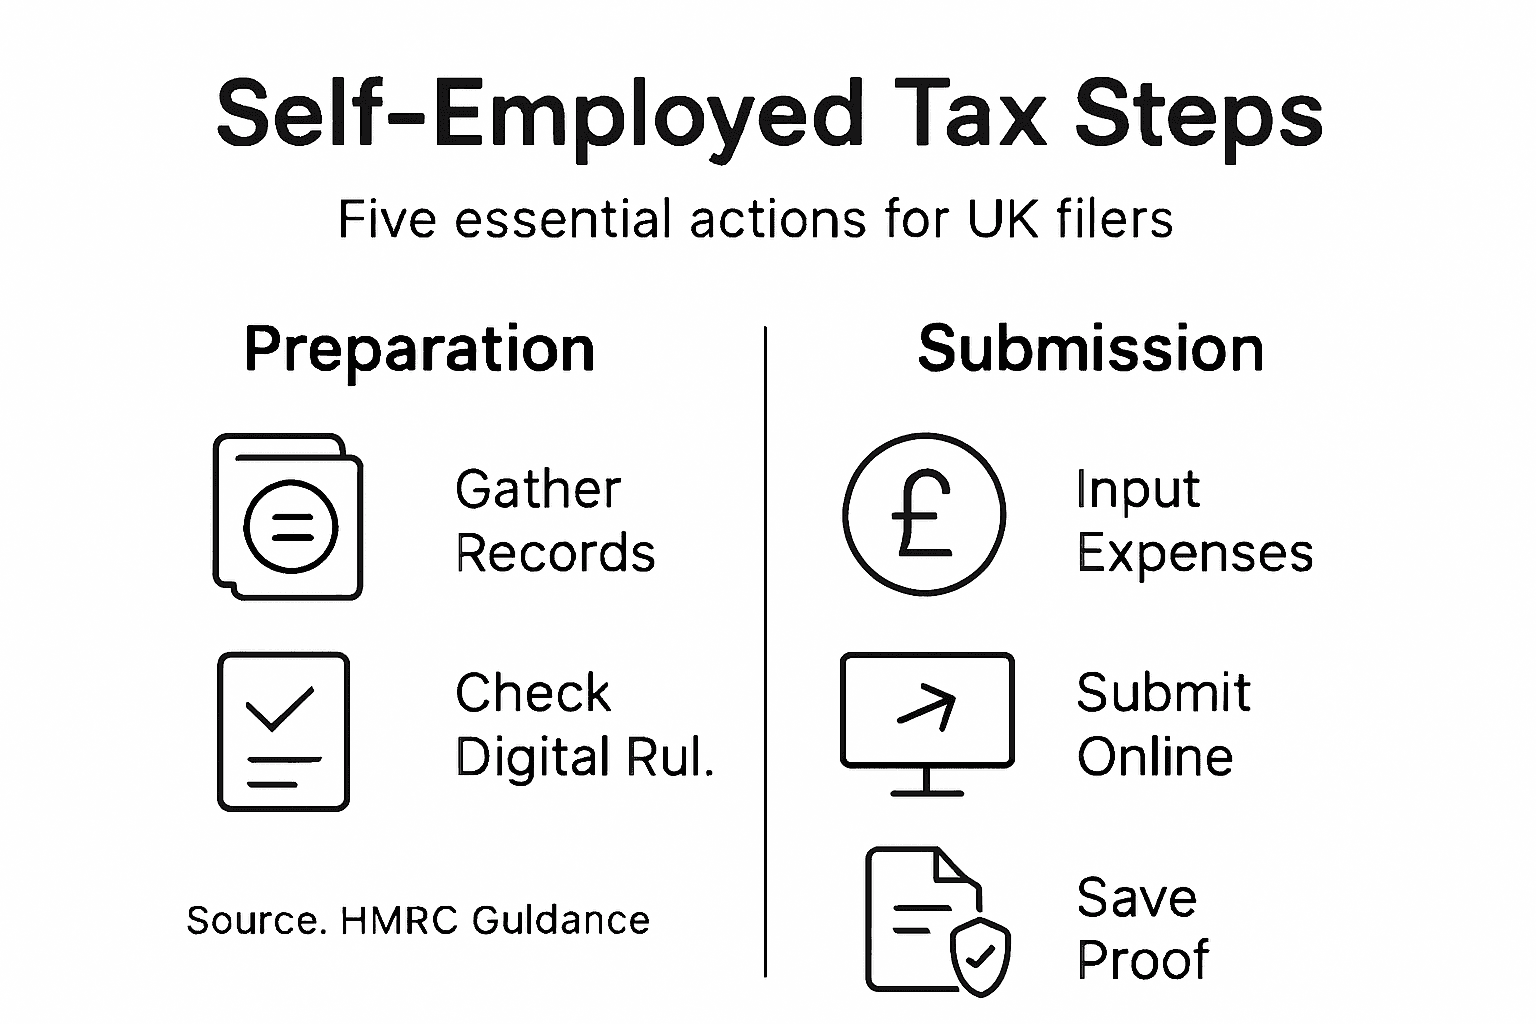
- Step 1: Gather Financial Records And Key Information
- Step 2: Enter Income And Expenses Accurately Online
- Step 3: Use Real-Time Tools To Check Calculations
- Step 4: Submit Your Tax Return Directly To HMRC
- Step 5: Review Results And Save Confirmations
Quick Summary
| Important Takeaway | Explanation |
|---|---|
| 1. Gather All Financial Records | Collect income and expense documentation to ensure accurate tax calculations and compliance with HMRC regulations. |
| 2. Enter Accurate Income and Expenses | Use exact figures from your records to avoid errors and ensure correct tax liability during self-assessment. |
| 3. Verify Calculations Using Software | Employ real-time validation checks in tax software to catch mistakes before submitting your return to HMRC. |
| 4. Save Confirmation Details Post-Submission | Retain your submission reference and confirmation email as proof for potential future queries with HMRC. |
| 5. Monitor Tax Payment Deadlines | Note payment deadlines after submission to avoid penalties and keep financial plans on track. |
Step 1: Gather financial records and key information
Before you submit your Self Assessment tax return, you need to collect every piece of financial documentation that shows your income and expenses throughout the tax year. Think of this as building your tax foundation—without accurate records, you’ll struggle to calculate your profits correctly and could face penalties if HMRC questions your figures.
Start by gathering your income records from all sources. This includes invoices you’ve issued to clients, receipts from cash payments, and bank statements that show deposits. If you’ve received grants like the Self-Employment Income Support Scheme, include documentation for those too. Your bank statements are particularly useful because they provide a clear audit trail of what money came in and went out.
Next, collect expense documentation that supports every business cost you plan to claim. You’ll need:
- Receipts and invoices for supplies, equipment, and services
- Bank statements and card statements showing business purchases
- Proof of rent, utilities, and home office costs
- Records of professional fees, insurance, and subscriptions
- Mileage logs or fuel receipts if you use a vehicle for work
Keeping detailed proof such as receipts and invoices is essential, as HMRC may request them to verify your figures.
If you’re registered for VAT, gather your VAT records separately. Keep any payroll documentation if you employ staff. Organise these by category and date—this makes the filing process faster and reduces errors.
You should also check whether Making Tax Digital applies to you. From April 2026, if your turnover exceeds £50,000, you’ll need to maintain digital records using recognised software. Starting early gives you time to get comfortable with the system before the deadline.
Consider how you’ll record separate income streams if you have multiple revenue sources. Keep your personal and business finances clearly separated in your records—this simplifies everything when you come to file.
Here is how digital and manual record keeping for Self Assessment compare:
| Aspect | Digital Records (Making Tax Digital) | Manual Records |
|---|---|---|
| Organisation | Records sorted automatically by software | Must create and maintain folders |
| Error Reduction | Auto-checks for missing/incorrect data | Relies on manual double-checks |
| Compliance | Meets Making Tax Digital legal requirements | Risk of non-compliance after 2026 |
| Efficiency | Streamlines updates and submissions | More time-consuming repeated entries |
Pro tip: Create a folder system now (digital or physical) with subfolders for each quarter or category, and file receipts as they arrive rather than scrambling to find them later.
Step 2: Enter income and expenses accurately online
This is where your collected records transform into your actual tax return. Entering your figures carefully and truthfully ensures you pay the correct amount of tax and avoids costly mistakes that could trigger HMRC investigations.
Start by logging into your tax return portal and navigating to the self-employment section. You’ll be asked to enter your total income for the tax year. This should match your bank deposits plus any cash income you’ve recorded. Don’t estimate or round figures—use the exact amounts from your invoices and bank statements.
When entering expenses, work systematically through each category. Enter amounts that you can actually back up with receipts or bank statements. HMRC will only allow allowable business expenses, which are costs incurred solely for running your business. Common allowable expenses include:
- Equipment and supplies
- Professional fees and subscriptions
- Office rent or home office costs
- Vehicle expenses and fuel
- Insurance and utilities
- Staff wages if you employ people
Entering all income and expenses accurately reduces errors and the risk of penalties whilst ensuring you pay the correct tax.
Be honest about what you claim. Never include personal expenses or costs that aren’t directly related to your business. The system will calculate your profit automatically once you’ve entered income and expenses.
Double-check your figures before submitting. Look for typos, missing decimals, or entries that seem unusually high or low compared to previous years. If you’ve had a significant change in income or expenses, make a note of why so you can explain it if HMRC asks.
If you’re unsure whether a specific expense is allowable, leave it out rather than guessing. It’s better to be conservative now than face questions later.
Pro tip: Enter your figures directly from your records as you go through the form, ticking them off in your documents to avoid double-counting or missing anything.
Step 3: Use real-time tools to check calculations
Once you’ve entered your income and expenses, your tax software becomes your safety net. Real-time calculation tools catch errors instantly, showing you exactly what you owe before you submit anything to HMRC.
Most modern tax platforms automatically calculate your profit the moment you enter figures. Watch the calculation panel update as you work—this gives you immediate feedback on whether your numbers make sense. If a figure seems dramatically different from previous years, the software often flags this for review.
Look for validation checks within your software. These identify missing information, inconsistencies, or entries that fall outside normal ranges. When the system highlights something, investigate it rather than ignoring the warning. It’s telling you something needs attention before submission.
Common things to verify include:
- Income totals matching your bank statements
- Expense amounts matching your receipts
- Tax calculations reflecting your actual profit
- Allowance claims appearing correctly
- Deductions applying to the right tax year
Recognised software automatically performs calculations and provides validation checks that highlight inconsistencies before submission, minimising delays or adjustments from HMRC.
Take time to review the summary before you submit. Does your net profit look reasonable? Are there any fields left blank that shouldn’t be? Compare your final figures to your accounts or previous returns if available.
If the software suggests adjustments, understand why. Sometimes it’s correcting obvious errors; sometimes it’s alerting you to potential issues. You can accept or reject adjustments—the choice is yours, but make sure you understand the reason first.
Some platforms show your estimated tax bill clearly, breaking down what you’ll owe or what you’ll receive as a refund. Use this information to ensure you’re prepared financially for any payment due.
Pro tip: Run through your calculations at least twice with a gap of a few hours between checks, as fresh eyes often spot errors you might miss on the first attempt.
Step 4: Submit your tax return directly to HMRC
You’re almost there. Submitting your return is straightforward, and the digital process ensures HMRC receives it instantly with a confirmation receipt that proves delivery.
Before you hit submit, take a final moment to review everything one last time. Check that all sections are complete, your contact details are current, and you’ve declared any additional income sources. Make sure you understand your final tax position and any payment or refund amount shown.
When you’re ready, follow these submission steps:
- Log into your tax software and navigate to the submission section
- Review the pre-submission checklist for any warnings or missing information
- Confirm all your details are correct
- Authorise the submission through your Government Gateway account
- Send the return to HMRC
Filing online through HMRC’s secure system provides immediate confirmation of receipt and facilitates easier correction of mistakes if needed.
Once submitted, you’ll receive an immediate acknowledgement on screen. HMRC will also send you a confirmation email with your submission reference number. Save this reference safely—you’ll need it if you need to contact HMRC about your return.
If you’re using Making Tax Digital software, your digital submission connects directly with HMRC and streamlines processing significantly. The software handles the technical connection, so you simply authorise and send.
After submission, HMRC processes your return and calculates any tax owing or refund due. You’ll typically see this reflected in your online account within a few days. If HMRC has questions, they’ll contact you using your registered contact details.
Keep your submission reference and a copy of your completed return for your records. You’ll need these if HMRC requests clarification or for future tax planning.
Pro tip: Submit your return well before the January 31st deadline so you have time to address any queries HMRC raises, rather than rushing at the last minute.
Step 5: Review results and save confirmations
Your return is submitted, but the work isn’t quite finished. Taking a few minutes now to review and save your confirmations protects you against future disputes and helps you track what you owe or what’s due back to you.
Immediately after submission, HMRC displays a confirmation screen showing your submission reference number. Read this carefully and note down the reference number somewhere safe. This is your proof that HMRC received your return.
Within a few minutes, you’ll receive a confirmation email to the address registered with HMRC. Open this email and save it or print it. This email serves as your official receipt and contains your submission reference. Store it in a dedicated folder alongside your tax documents.
Next, log back into your HMRC online account and review what was processed. Check these key details:
- Your submission reference appears correctly
- Your income figures match what you submitted
- Your expenses are recorded accurately
- Any tax due or refund due is shown clearly
- Payment deadlines are displayed if tax is owing
After submitting your tax return, save or print HMRC’s confirmation screens and emails to verify information was correctly processed and track payment deadlines.
If HMRC calculates that you owe tax, note the payment deadline carefully. Most payments are due by 31 January following the tax year end. Missing this deadline triggers automatic penalties, so set a reminder in your calendar now.
If you’re entitled to a refund, HMRC will process this automatically. You’ll see the refund status in your online account, and the money typically arrives within 10 business days of HMRC processing your return.
Make a digital copy of your entire submission for your records. Keep it alongside your financial records and receipts. You might need to reference this if HMRC sends questions or if you’re preparing next year’s return.
Below is a quick summary of what to do after submitting your tax return:
| Action | Purpose | Recommended Timeframe |
|---|---|---|
| Save confirmation reference | Proof of submission for disputes | Immediately after submission |
| Check processed figures online | Ensure income and expenses match | Within 24 hours of submission |
| Note payment deadline | Avoid HMRC late penalties | Upon confirmation of tax due |
| Archive digital records | Easy retrieval for future queries | As soon as return is finalised |
Pro tip: Create a folder named with the tax year (for example, “Tax Year 2025-26”) and save your confirmation email, submission reference, and a PDF copy of your return together for easy retrieval.
Take Control of Your Self-Employed Tax Filing with Confidence
Navigating the complexities of Self Assessment tax returns can be daunting, especially when you need to gather accurate income and expense records, understand allowable deductions, and ensure compliance with Making Tax Digital requirements. This guide highlights common challenges like avoiding penalties for inaccurate entries, mastering real-time tax calculations, and submitting returns on time. If you want a reliable solution that simplifies every step, from recording to submitting your tax return, Taxtotal.co.uk offers a tailored platform designed just for you.
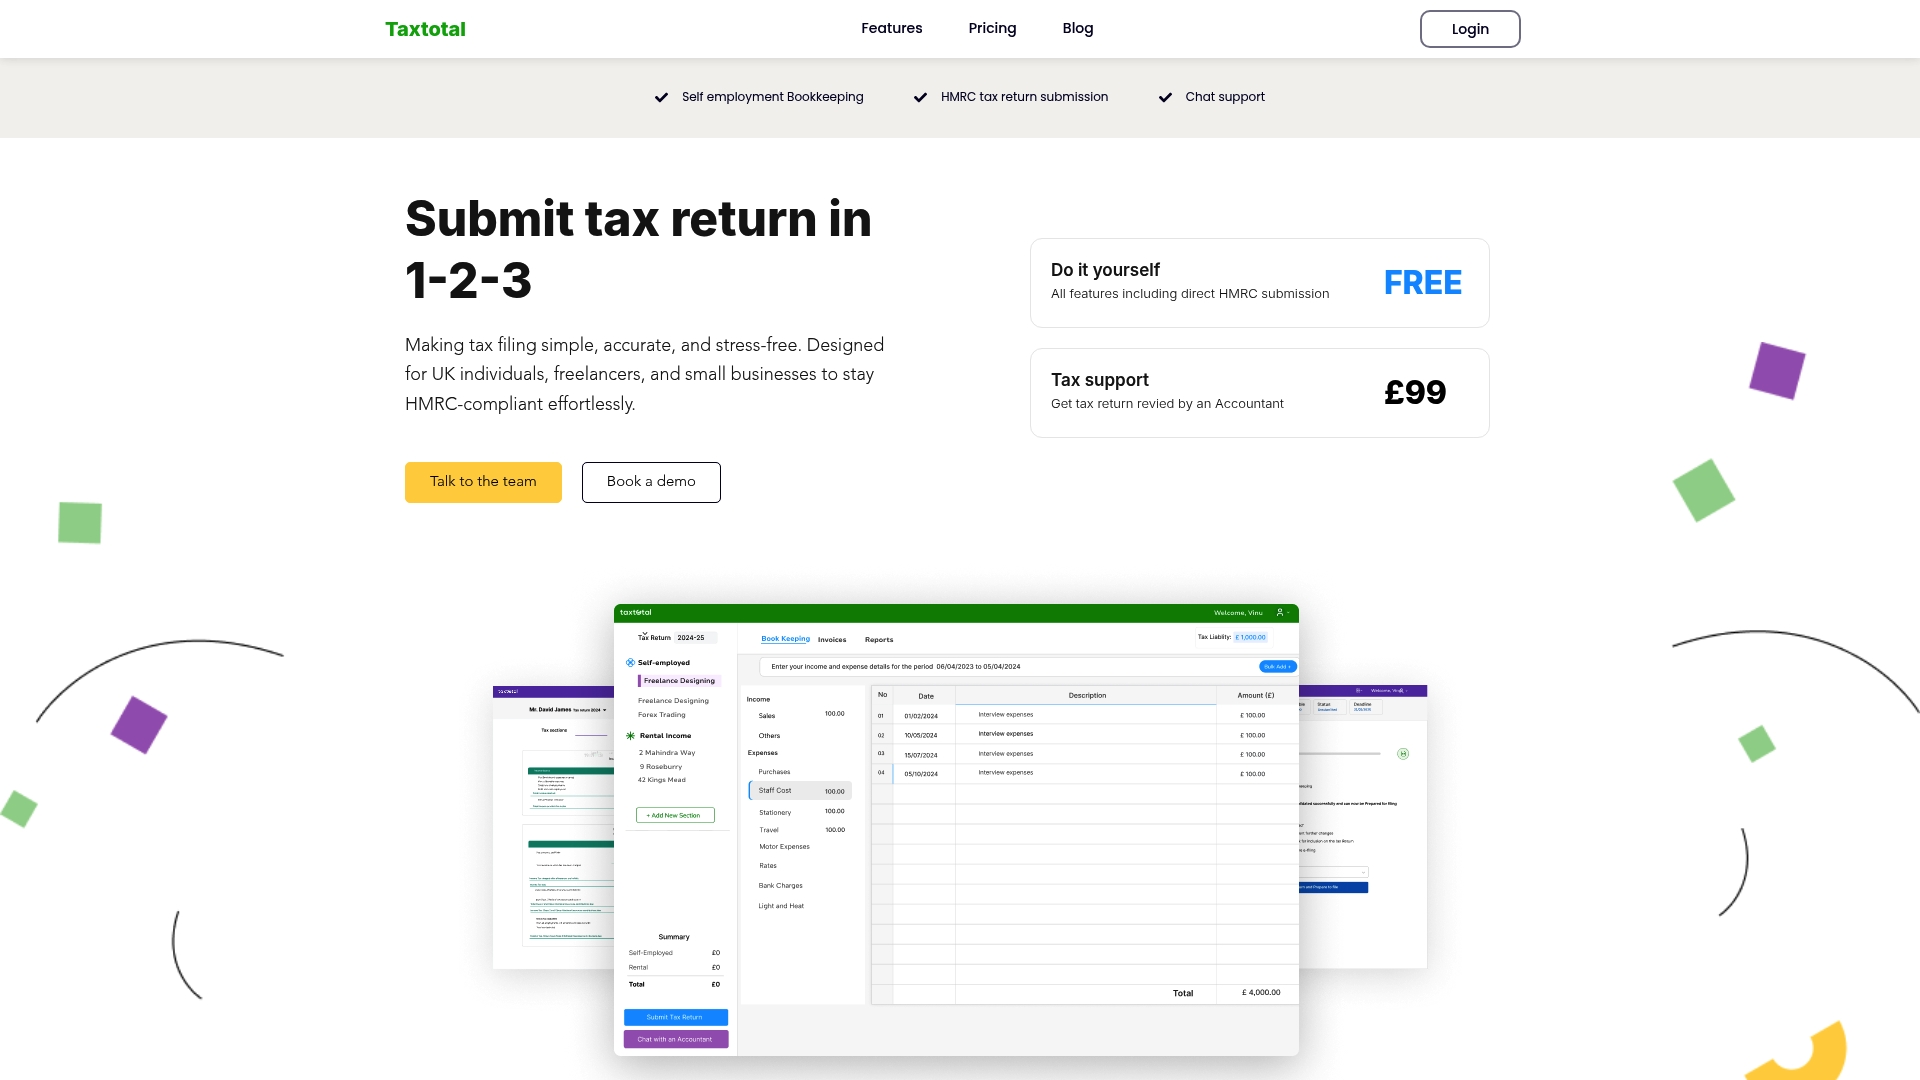
Ready to move beyond stress and errors? Benefit from features such as guided data entry, automatic error checking, real-time profit calculations, and direct submission to HMRC. Explore expert advice and support at our Tax Support Archives – Taxtotal and sharpen your financial knowledge with helpful tips from our Accounting Archives – Taxtotal. Don’t wait until the deadline hits. Visit Taxtotal.co.uk now to start your smooth, compliant Self Assessment experience today.
Frequently Asked Questions
How do I gather the financial records needed for my Self Assessment tax return?
To gather the financial records, collect all documentation that shows your income and expenses, such as invoices, bank statements, receipts, and relevant grant documentation. Organise these records by category and date to simplify the filing process.
What income and expenses can I include in my Self Assessment for 2026?
You can include all allowable business income, such as payments from clients and grants received, along with allowable expenses like equipment, supplies, and rent. Ensure that every claimed expense is directly tied to your business and is supported by appropriate documentation.
What should I do if my income or expenses have changed significantly compared to last year?
If your income or expenses have changed substantially, take detailed notes on the reasons for these differences. Include these notes alongside your tax return to explain the fluctuations to HMRC if questions arise later.
How can I ensure my tax calculations are accurate before submission?
To ensure accurate tax calculations, use your tax software’s real-time calculation features and validation checks to spot errors. Review your figures several times to confirm they are consistent with your financial records before submitting your return.
What happens after I submit my Self Assessment tax return?
After submission, HMRC will process your return and calculate any tax owed or refund due, which typically appears in your online account within a few days. Save the confirmation screen and any emails from HMRC for your records, as these serve as proof of submission and detail any amounts owed or refunded.